In the following post, you will gain more insight into my book creation process from the point of image selection all the way to the finished publication. For exemplary purposes, I used my latest project “Black Gold“ to obtain reference images. To create the book files I am using Adobe inDesign.

The first step, after the photographs have been shot, processed, and roughly selected, is to make digital prints in kind of a contact sheet form. These sheets are then examined and keepers / non-keepers get marked accordingly.

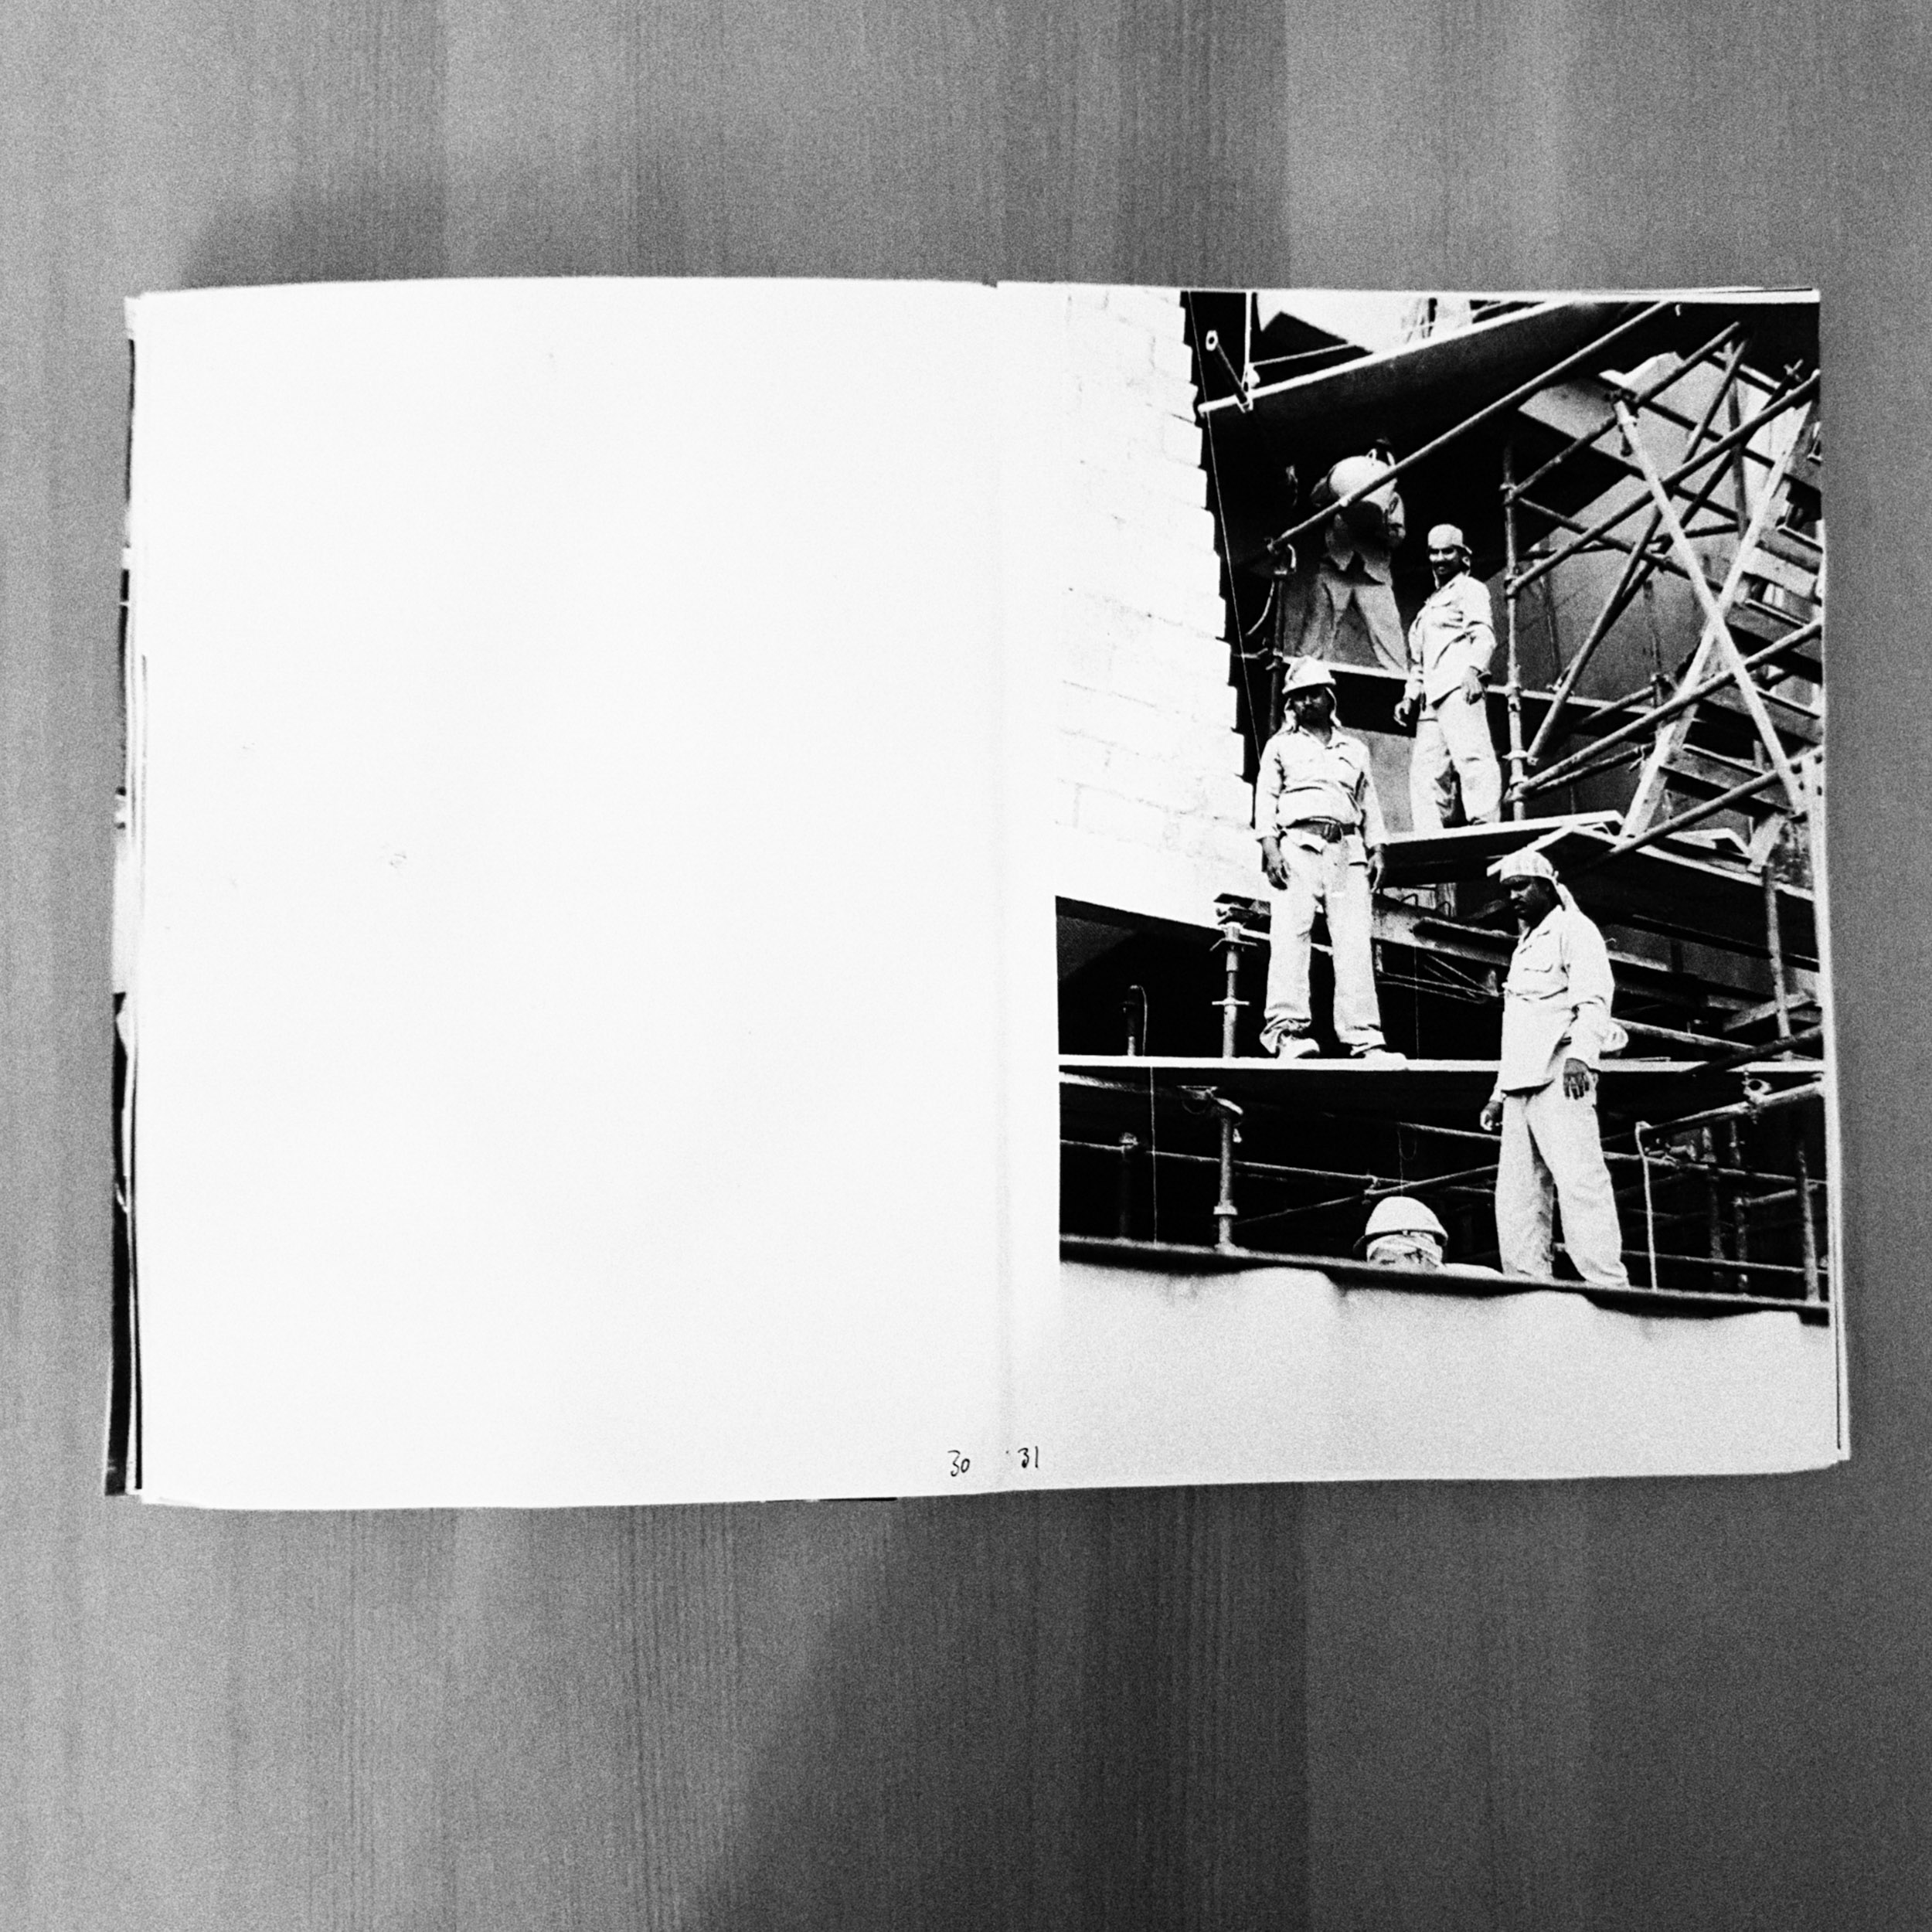
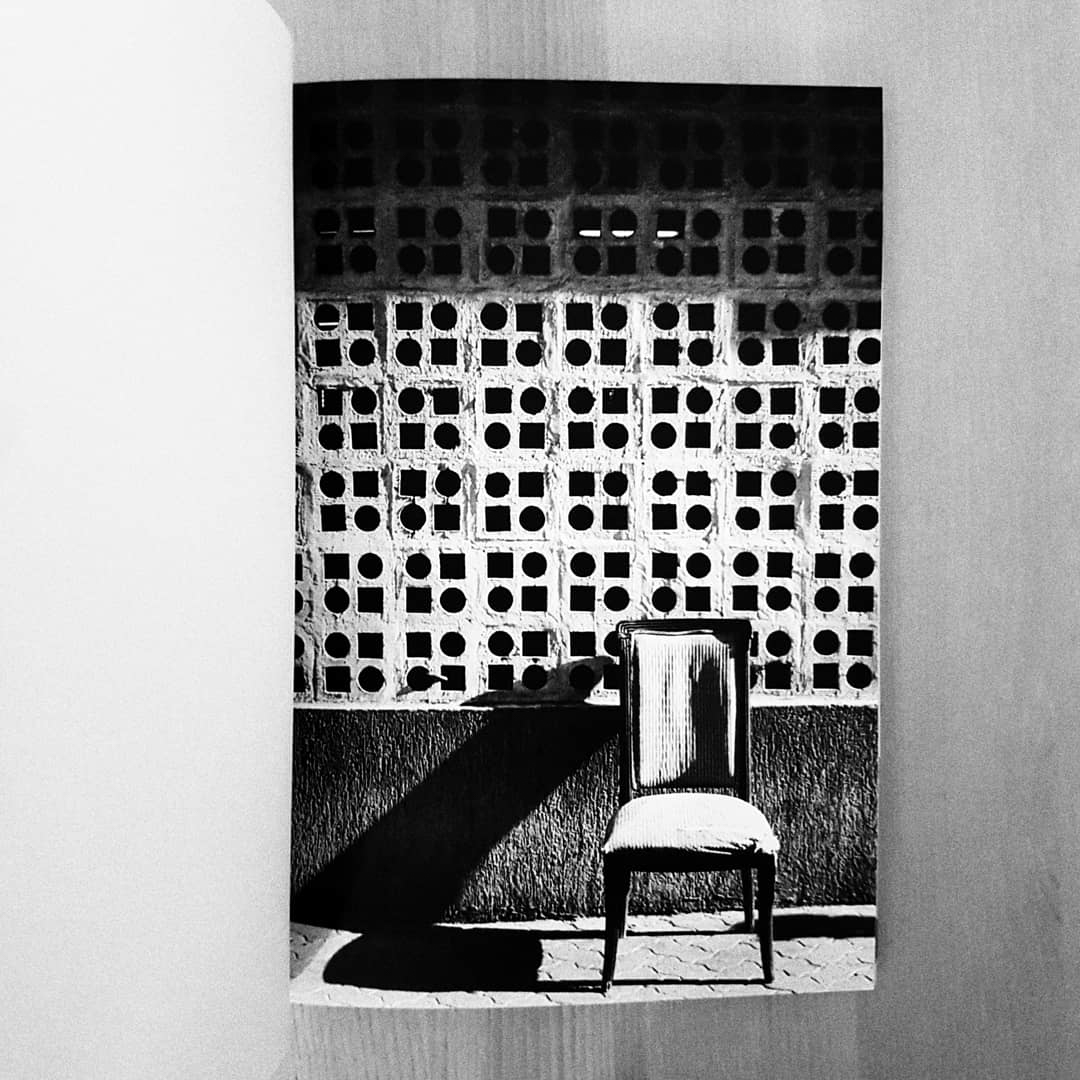
After this step, the photographs that made it so far are printed out, and then laid out on the floor or put on a big wall using tape. This is the part of the process is key to find a first working sequence of the individual works. Additionally, at this point I highly suggest to have the concept of the book clear in mind, as the sequence will decisively influence the (visual) story. In summary, don’t take this step light-hearted but make sure to always just do what, in a way, “feels“ right in regard to the sequence.
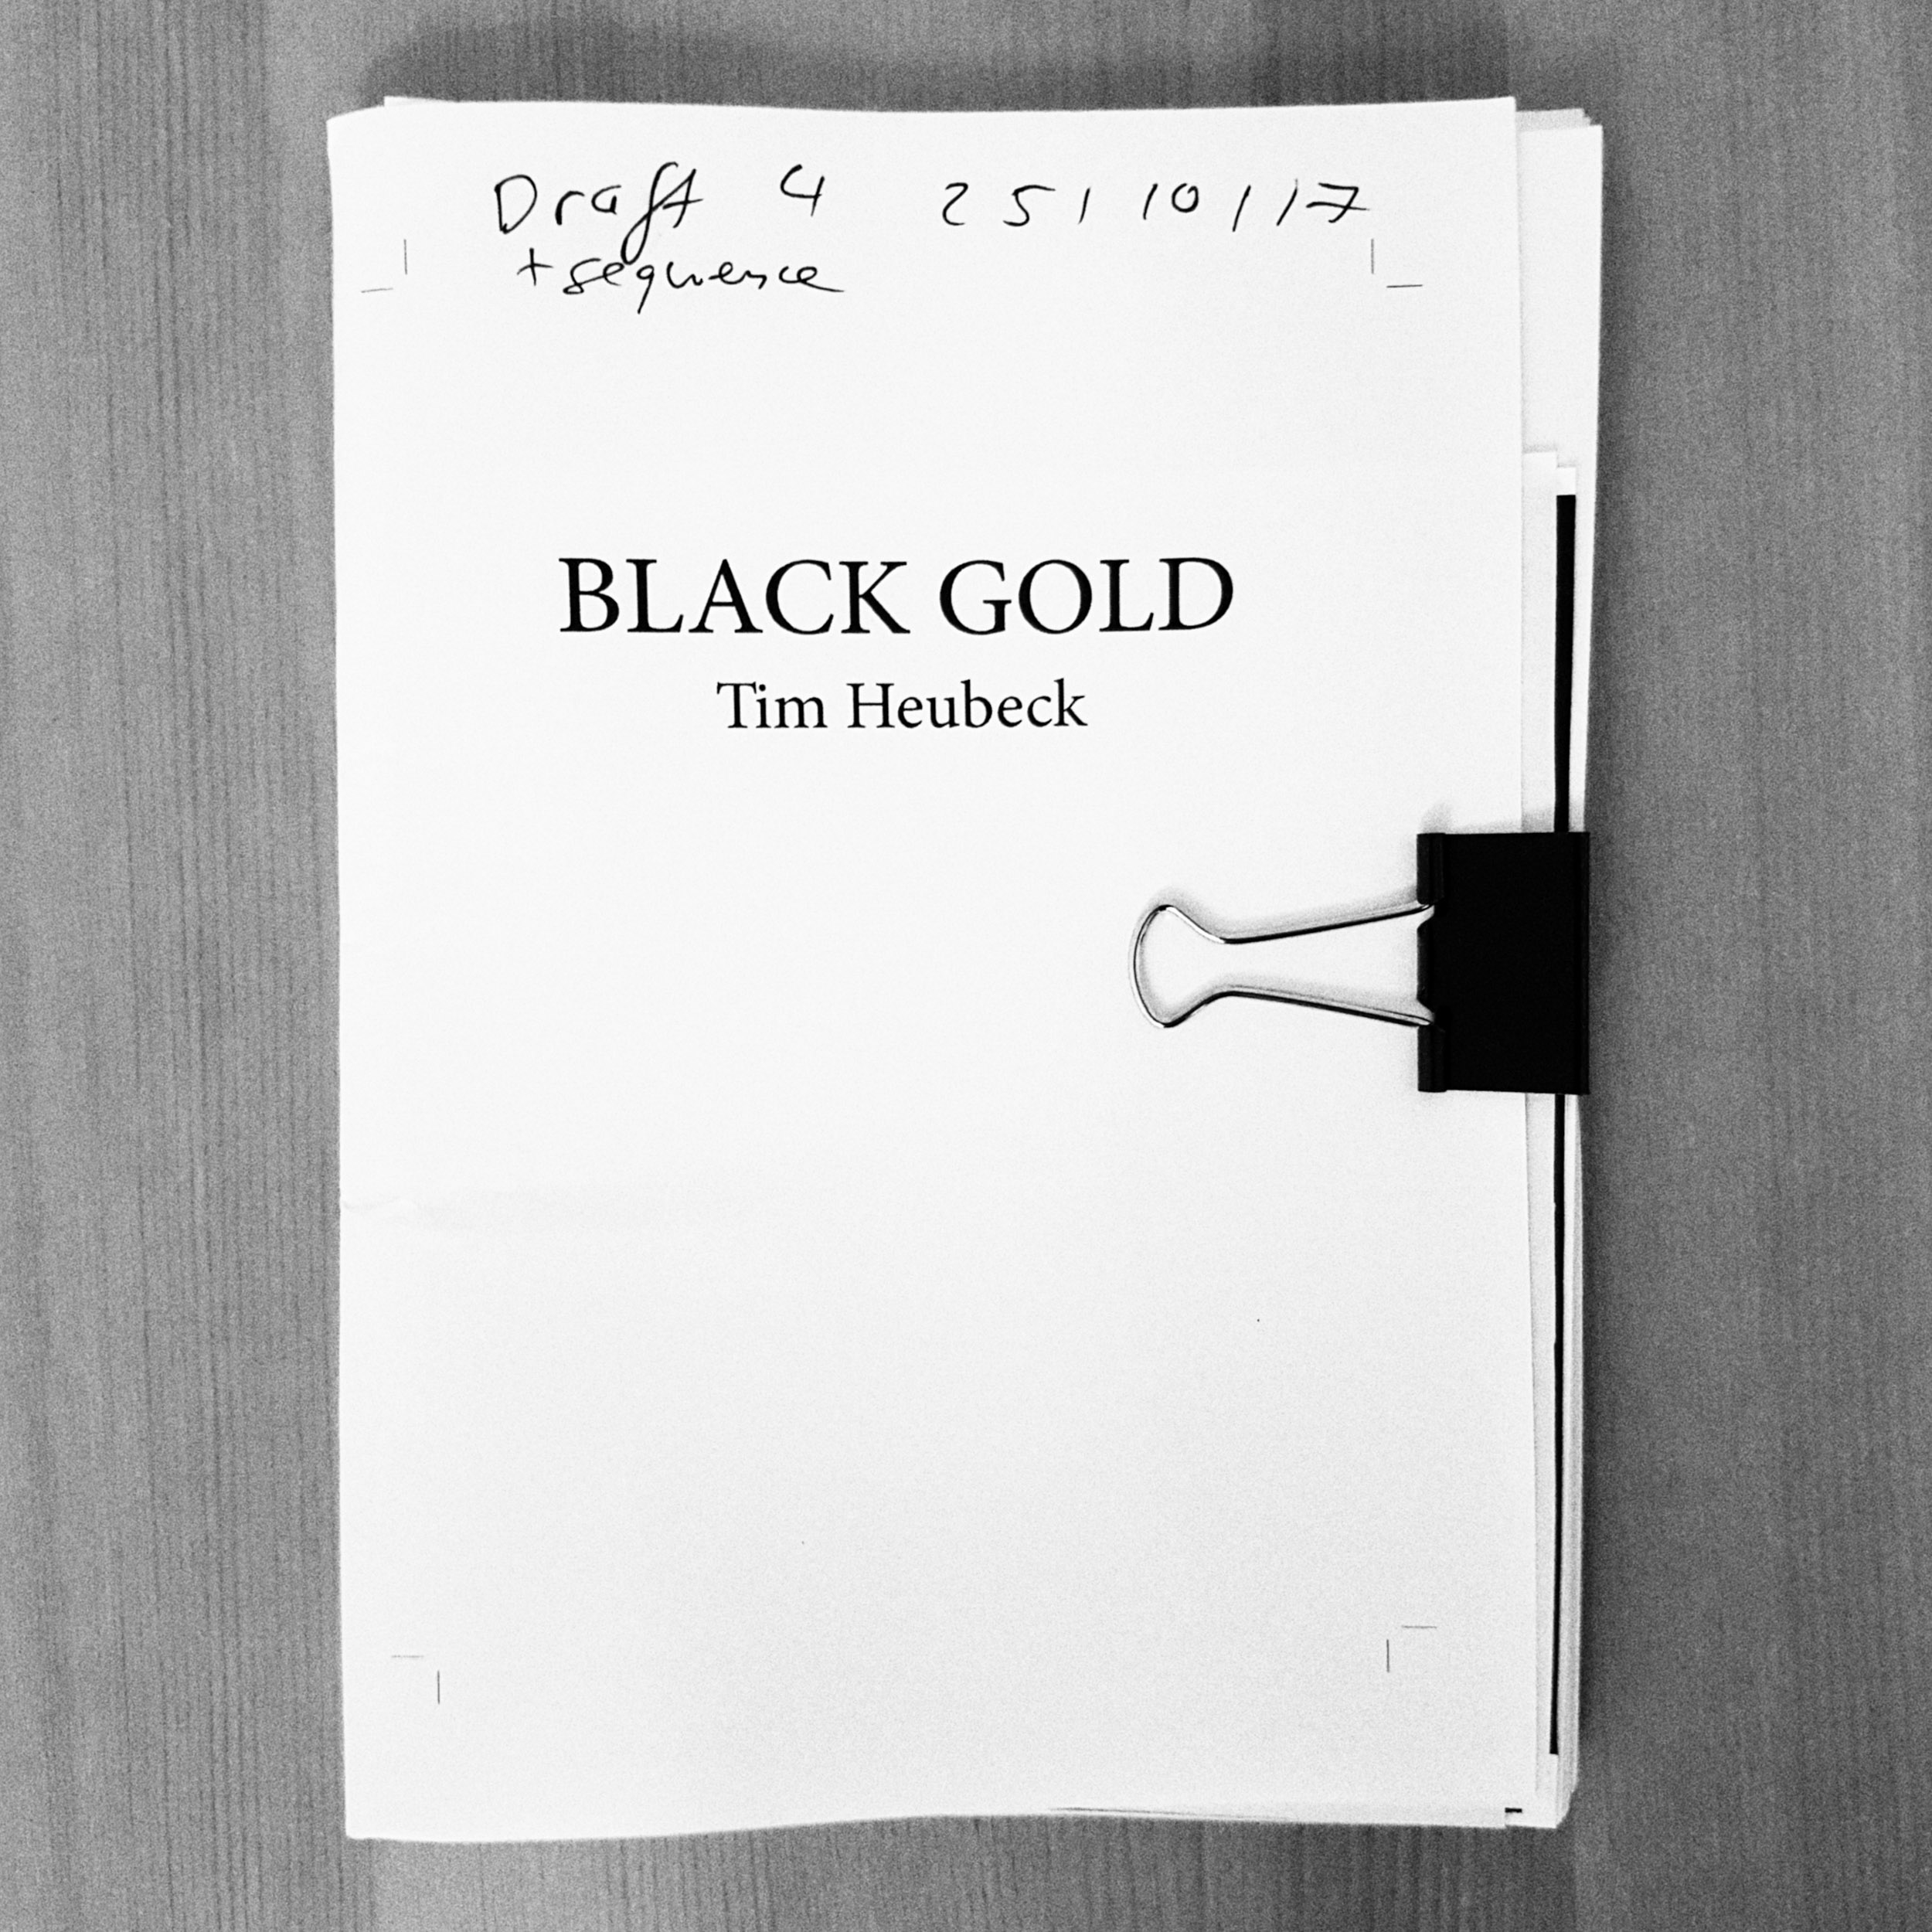

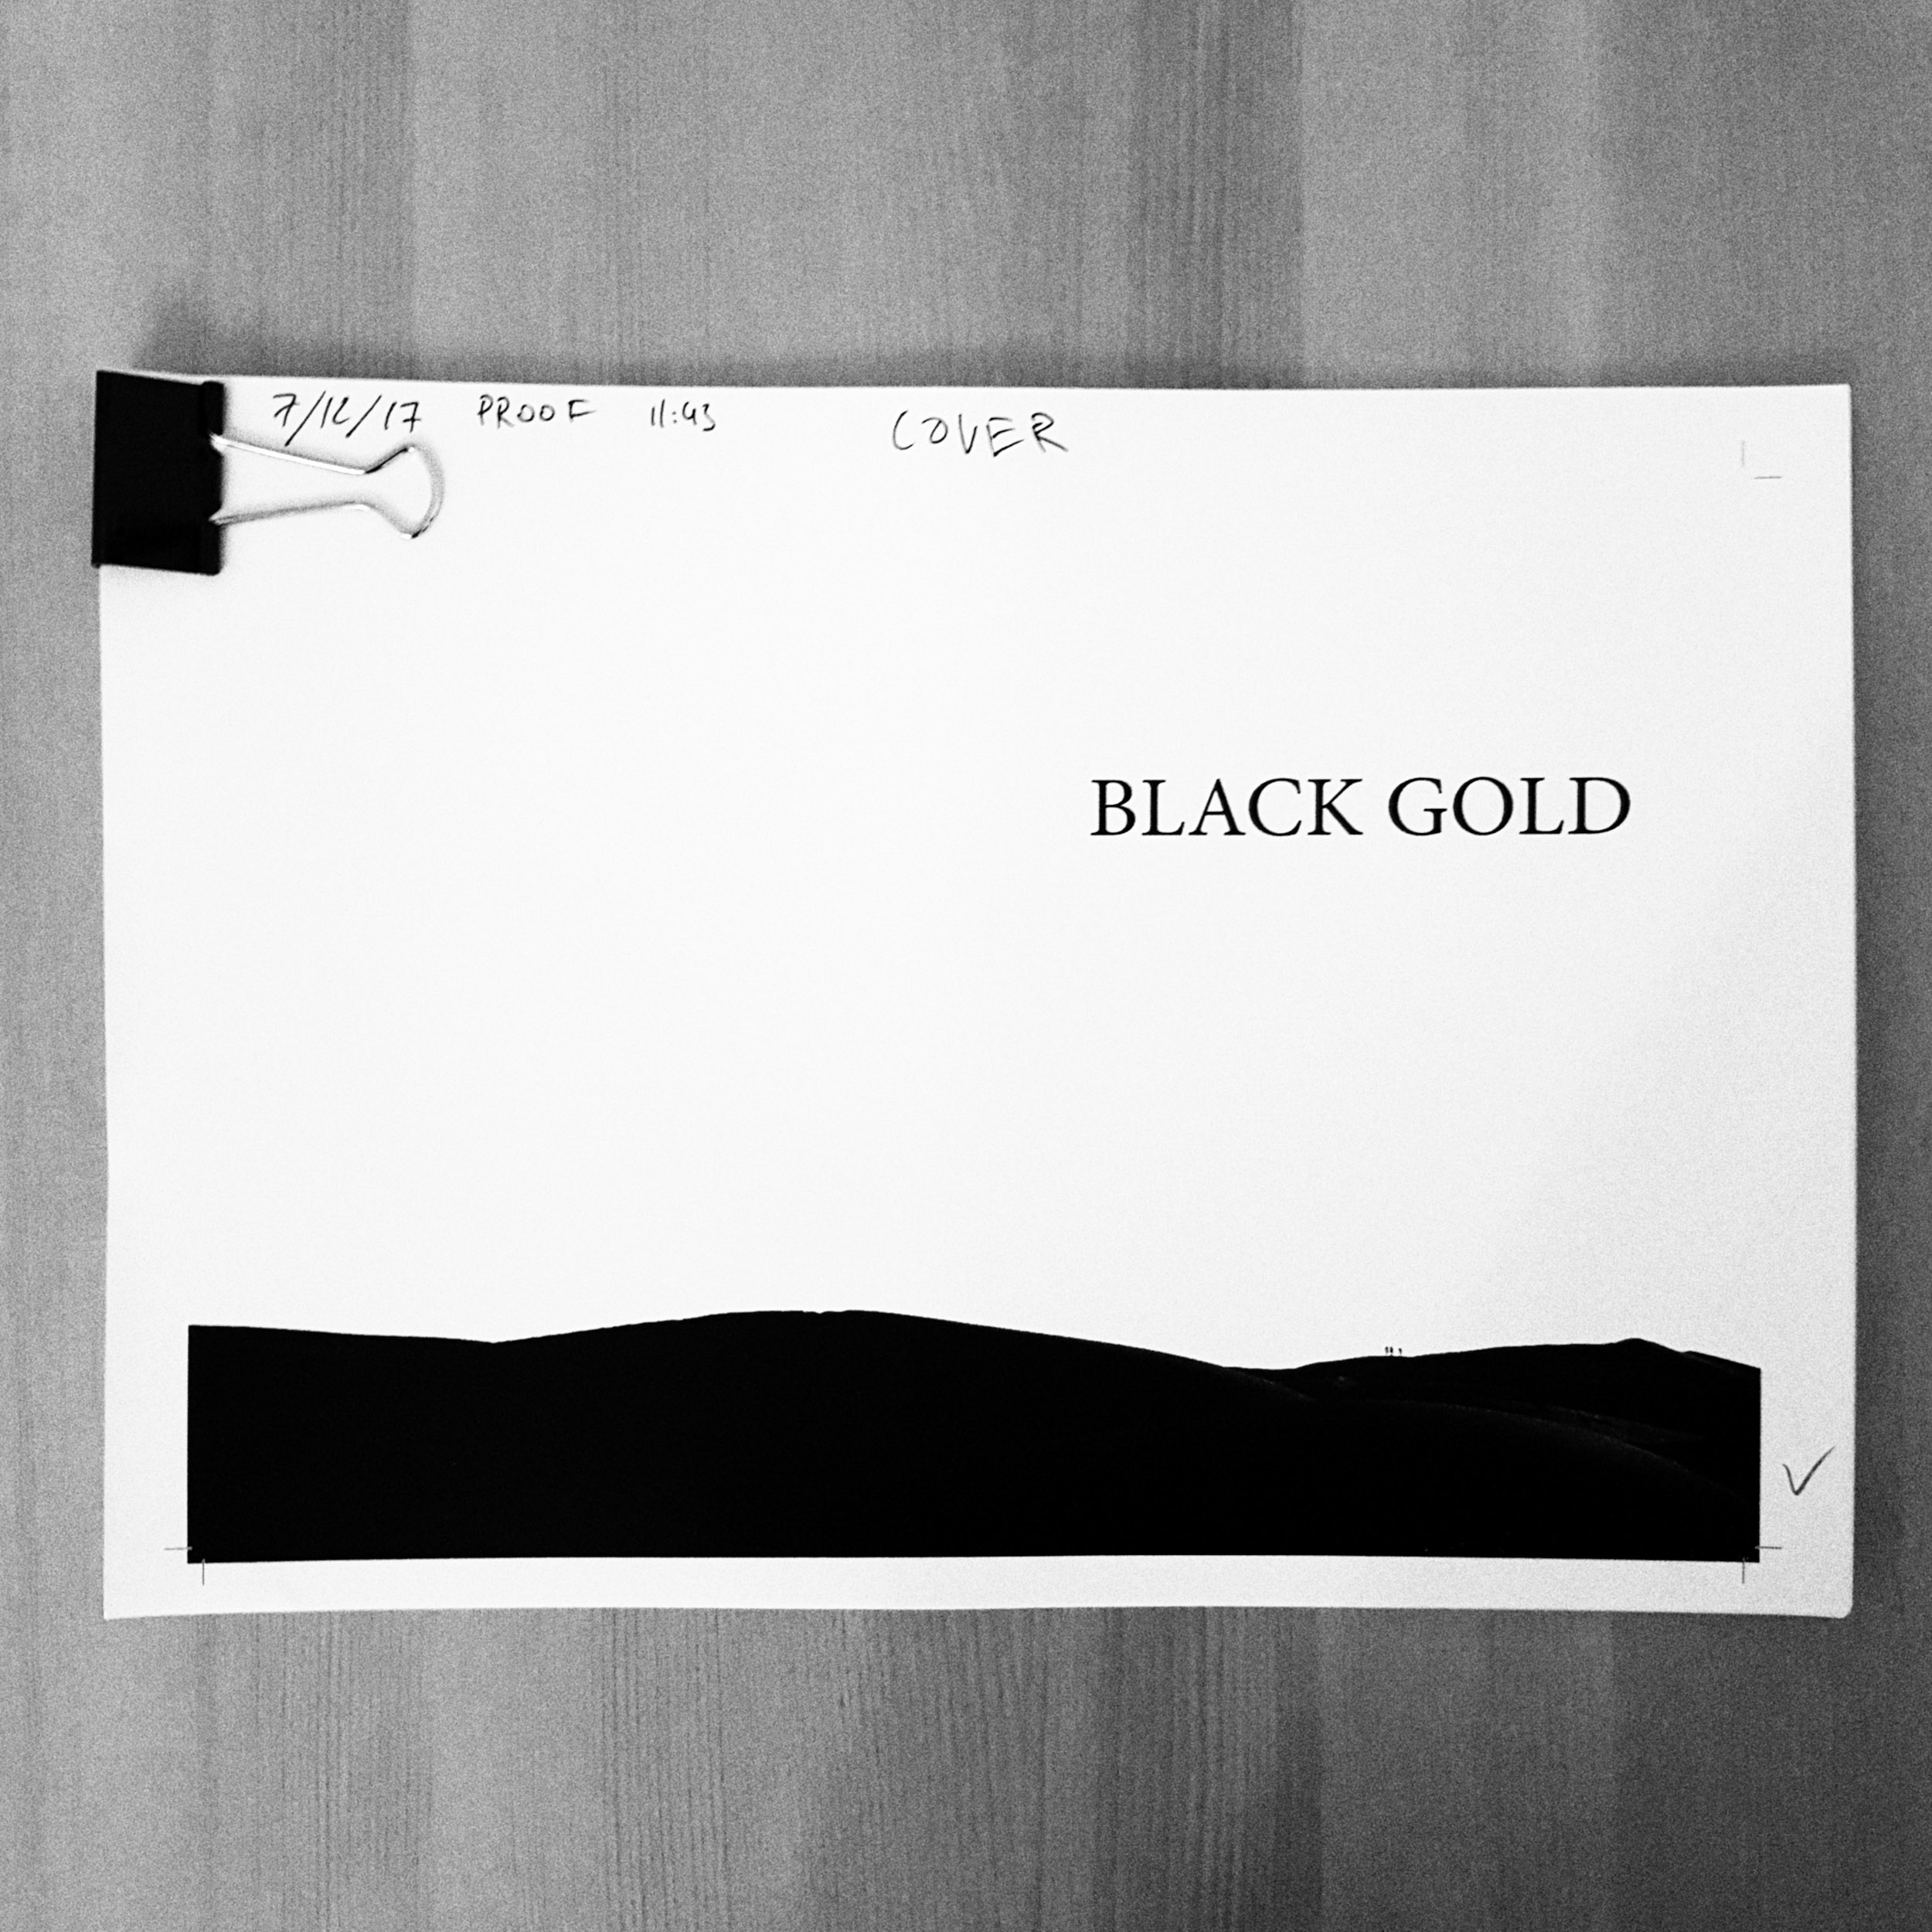
The next task is to print the images out in this order and build a first book dummy. Typically, I use those large clippers and number my sheets (i.e., number of the sheet and date). After (numerous) different sequences and possibilities of photographs included, it is time to create the first dummy that is in closer resemblance to a book. Here, I start out with paper clips to be able to clip the printed sheets together and to remain flexible in terms of being able to take out / insert sheets at any given point.
This is, explained in a brief manner, the outline of my process of creating book dummies and evaluating various options.
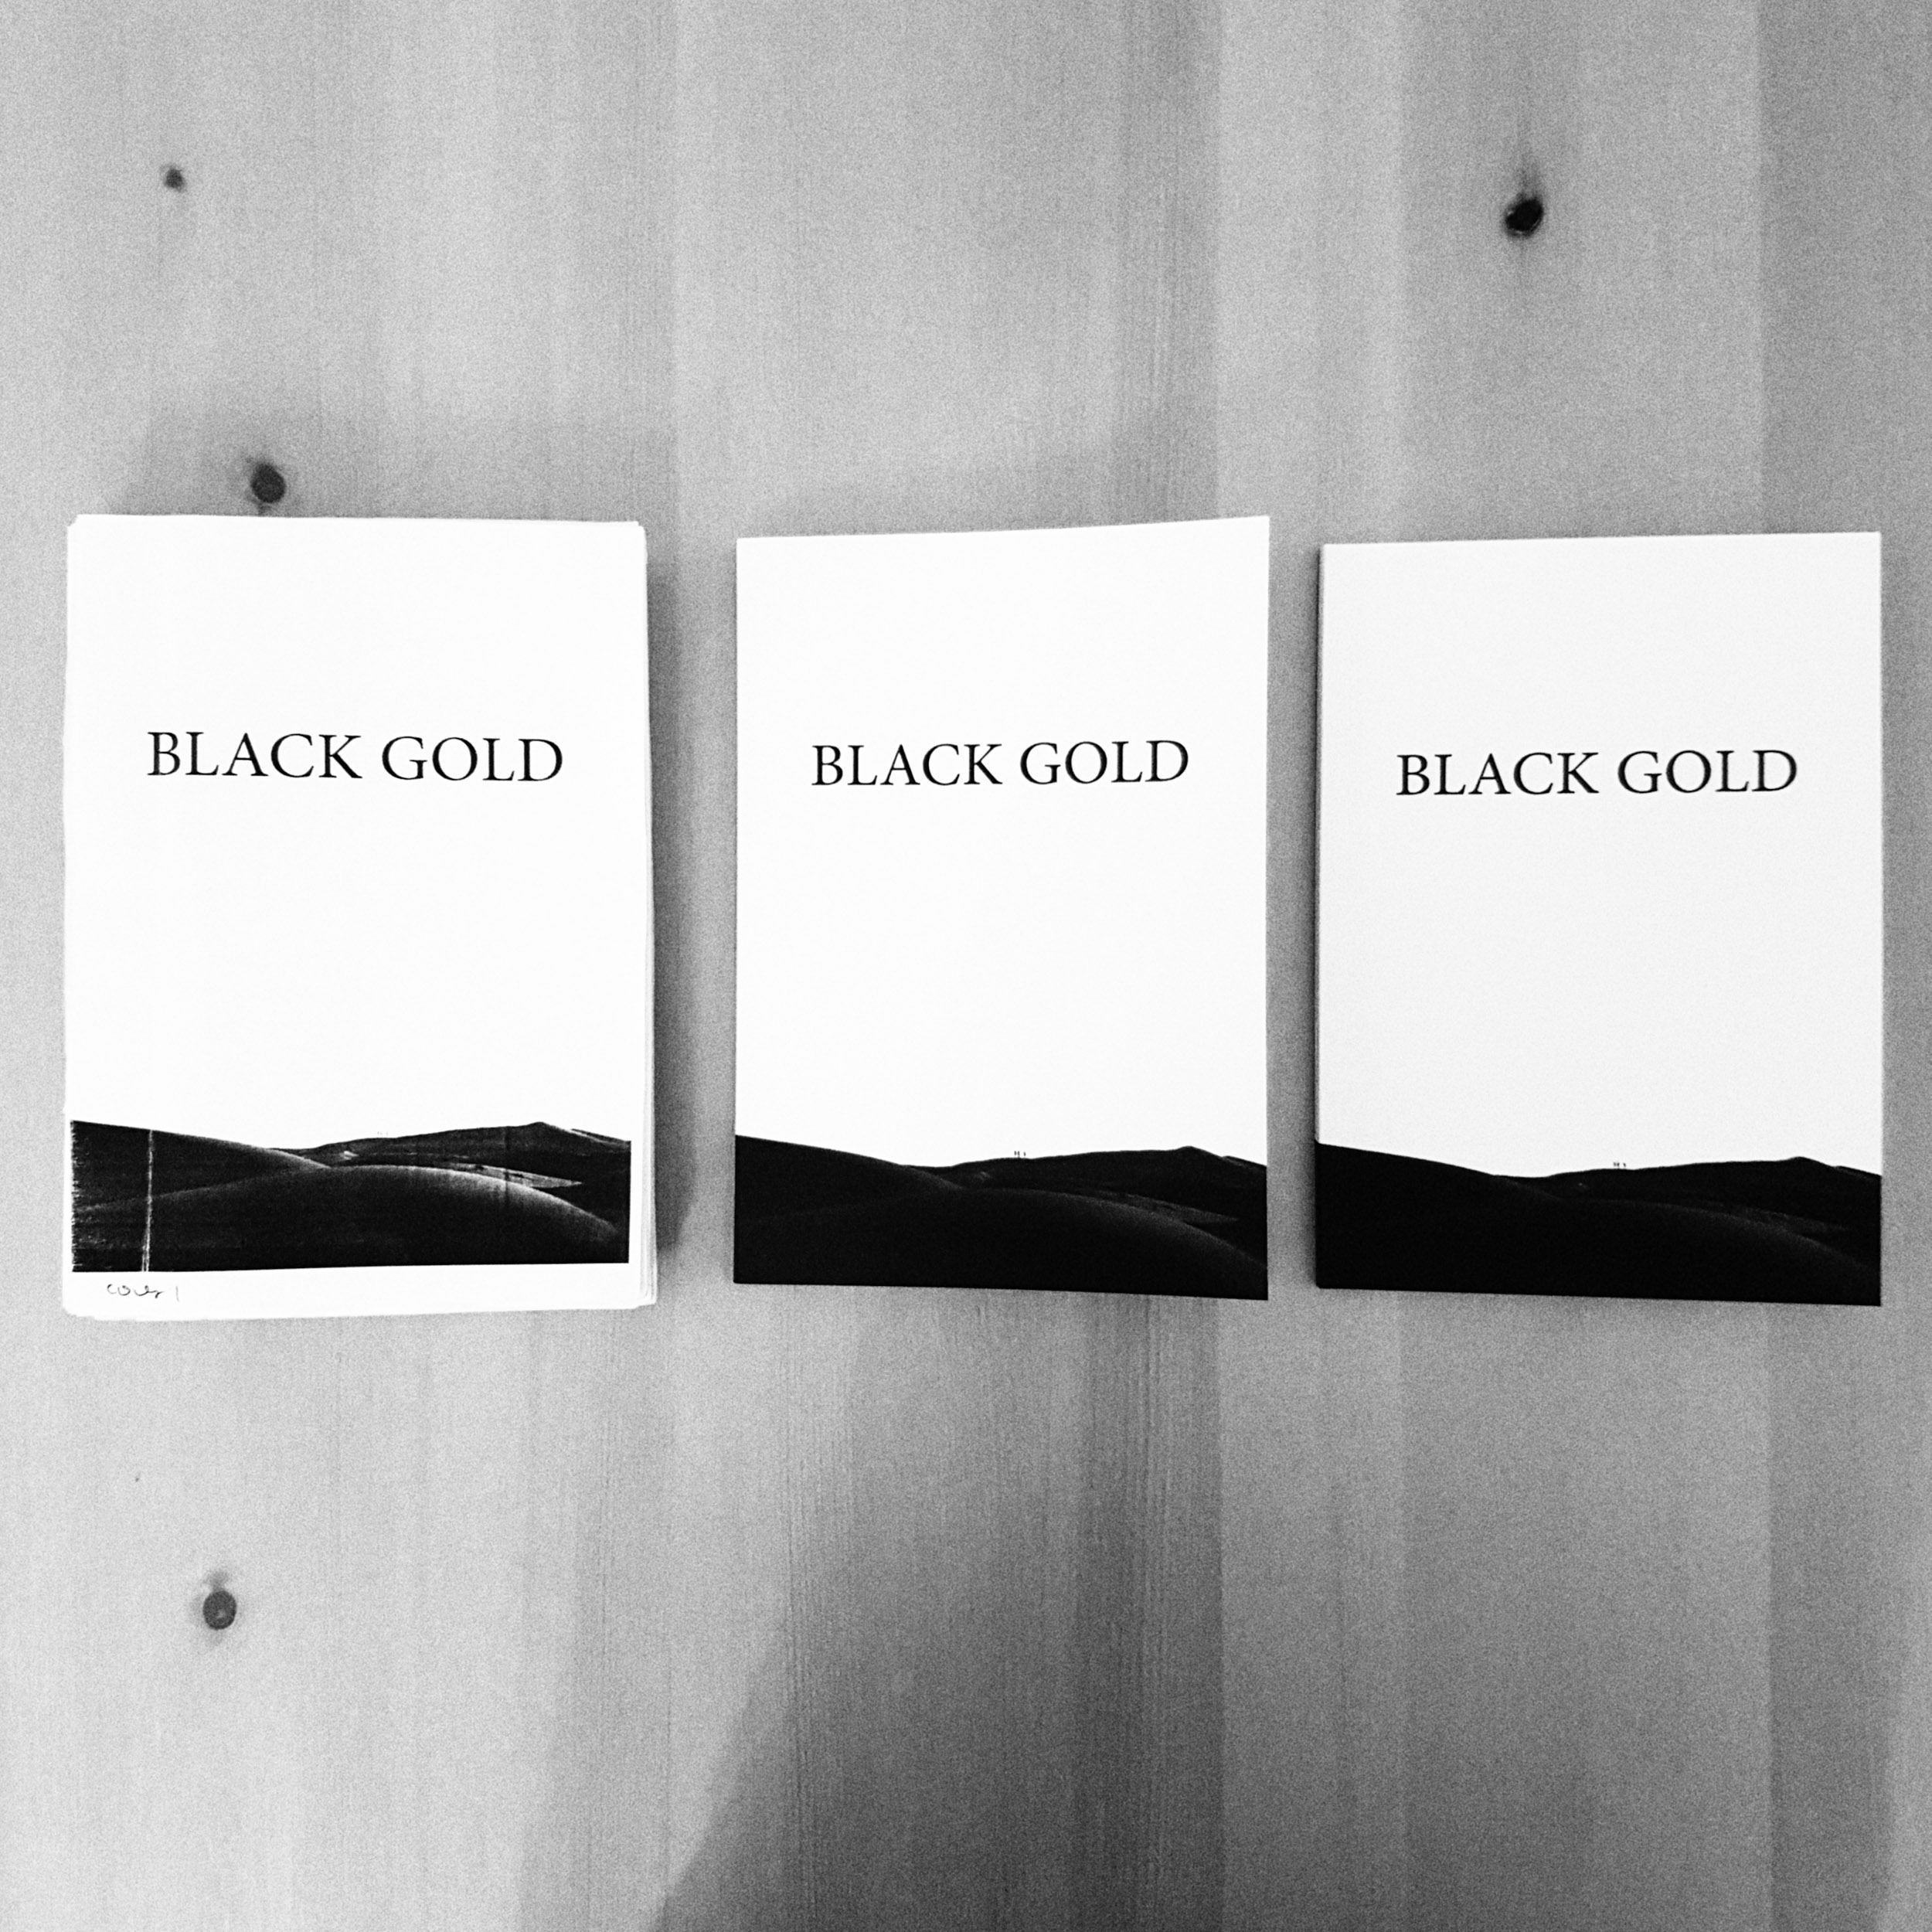
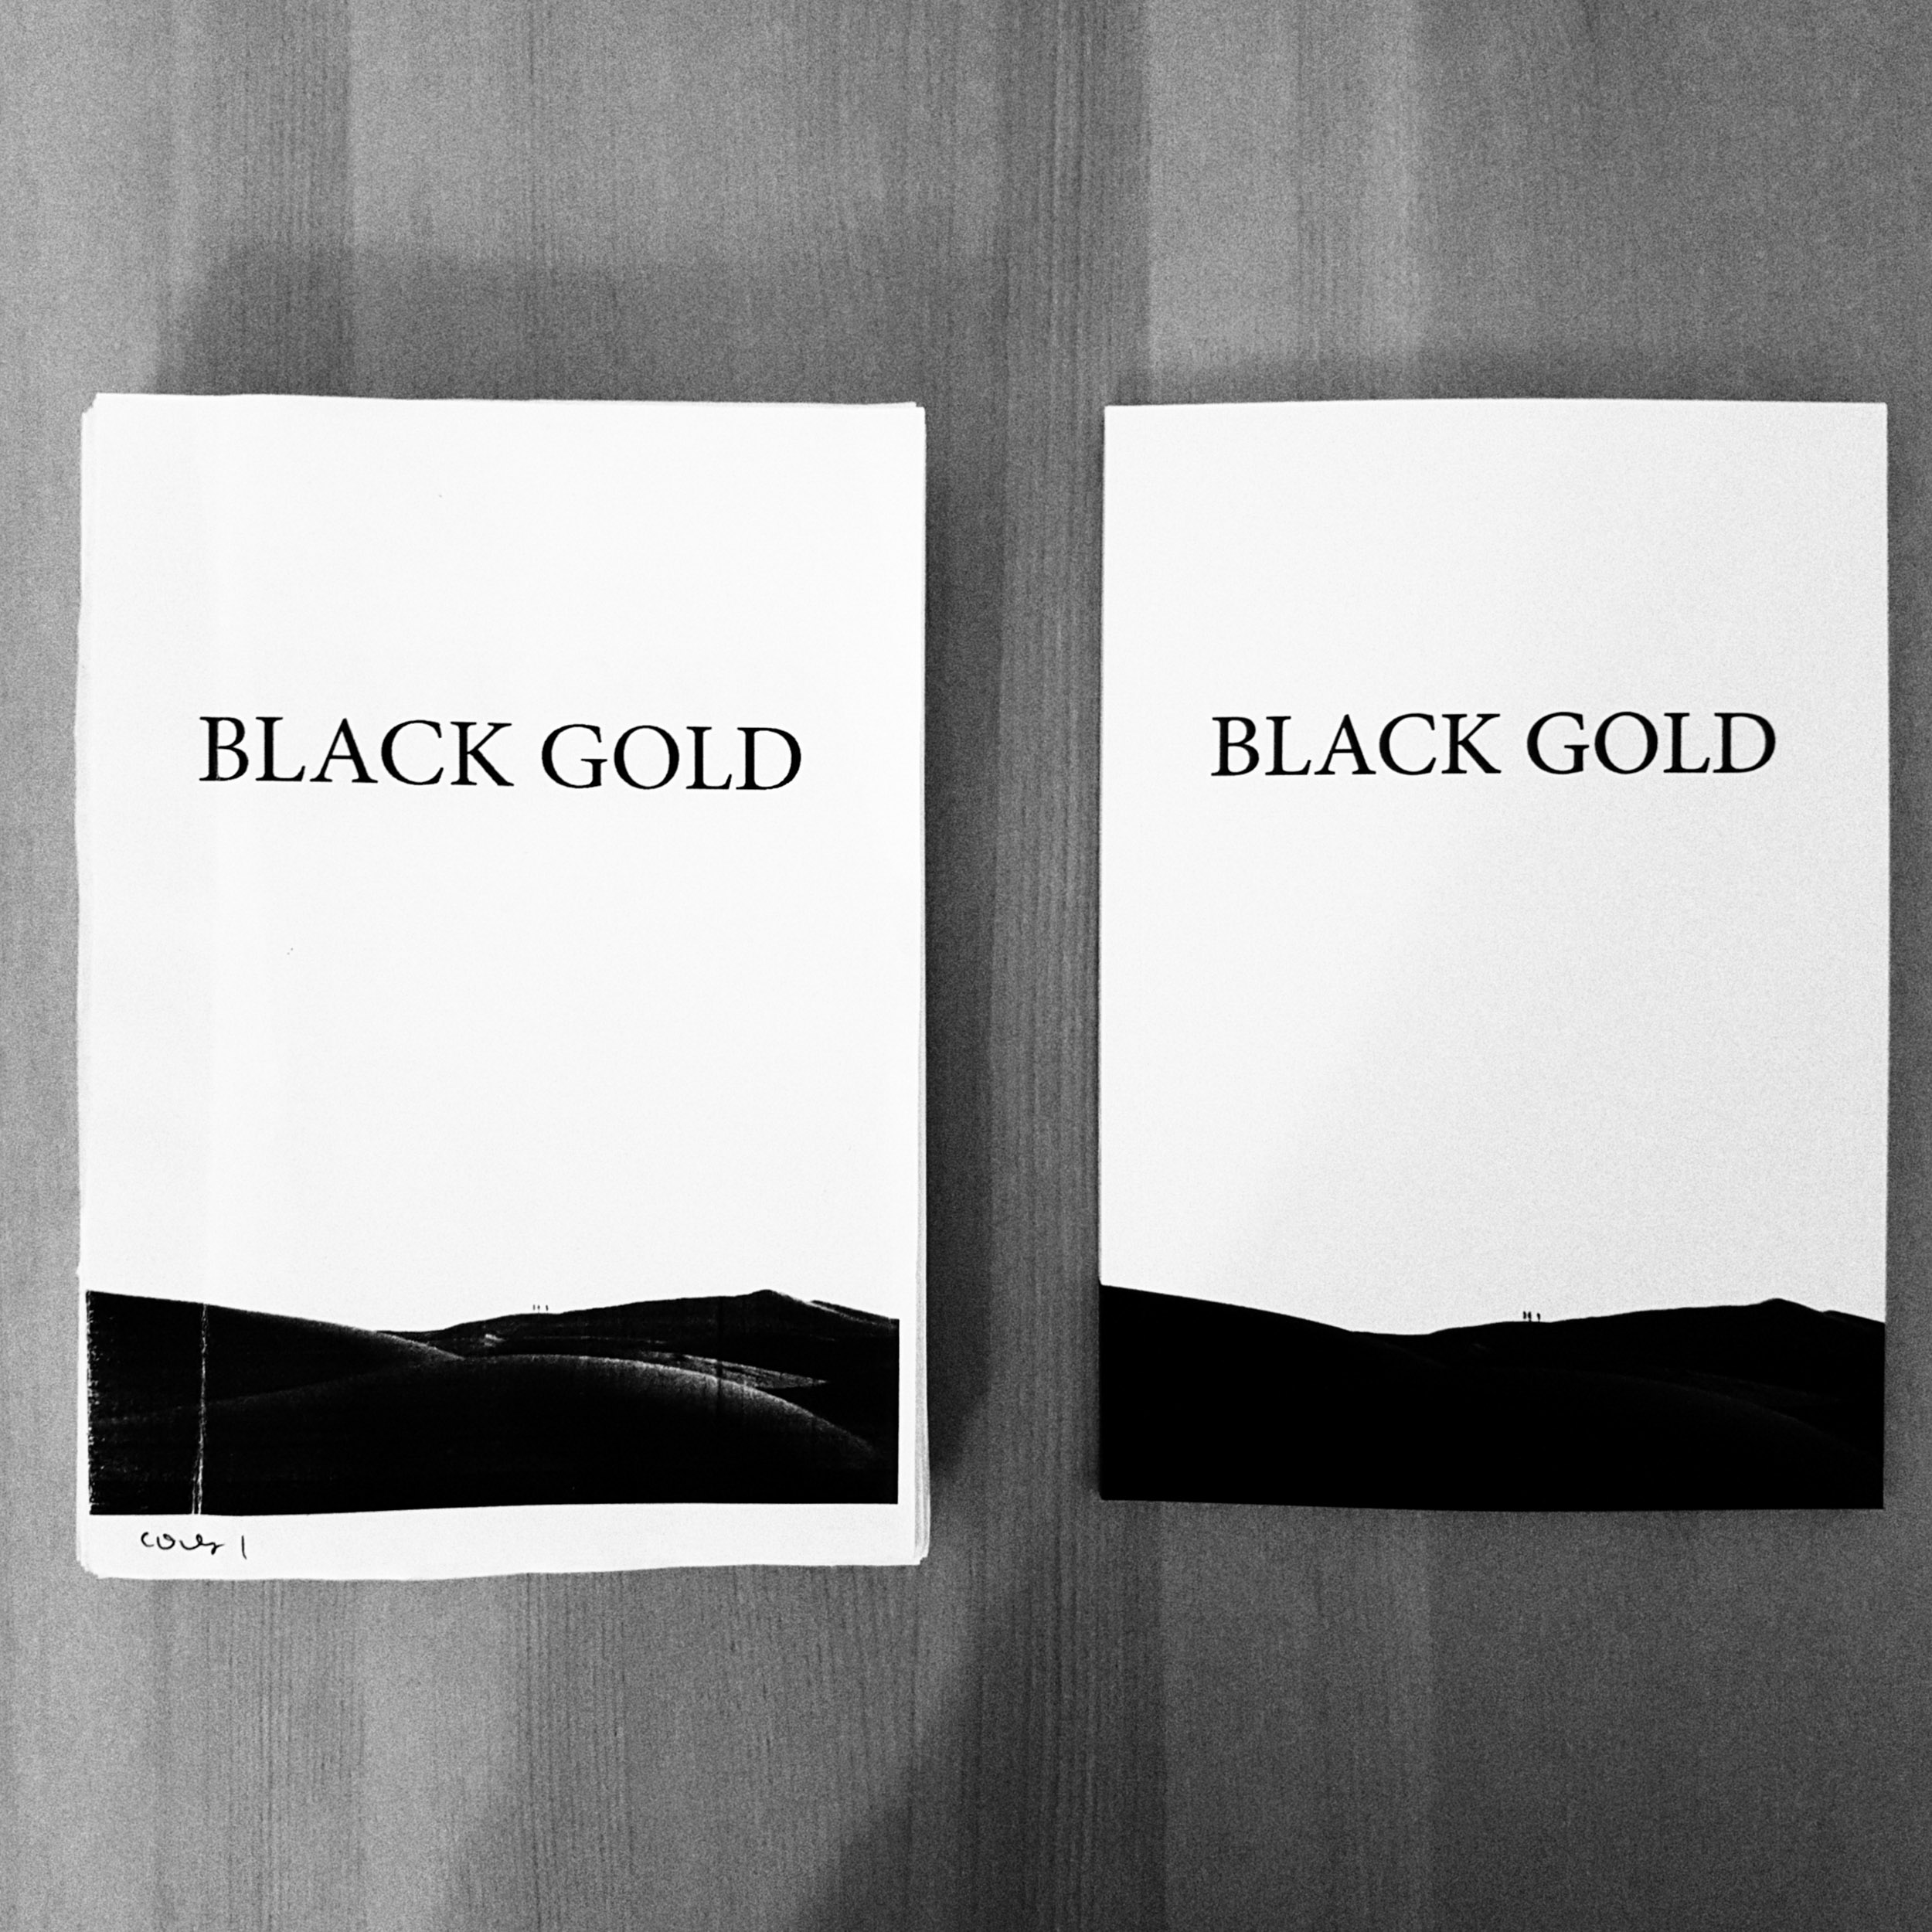
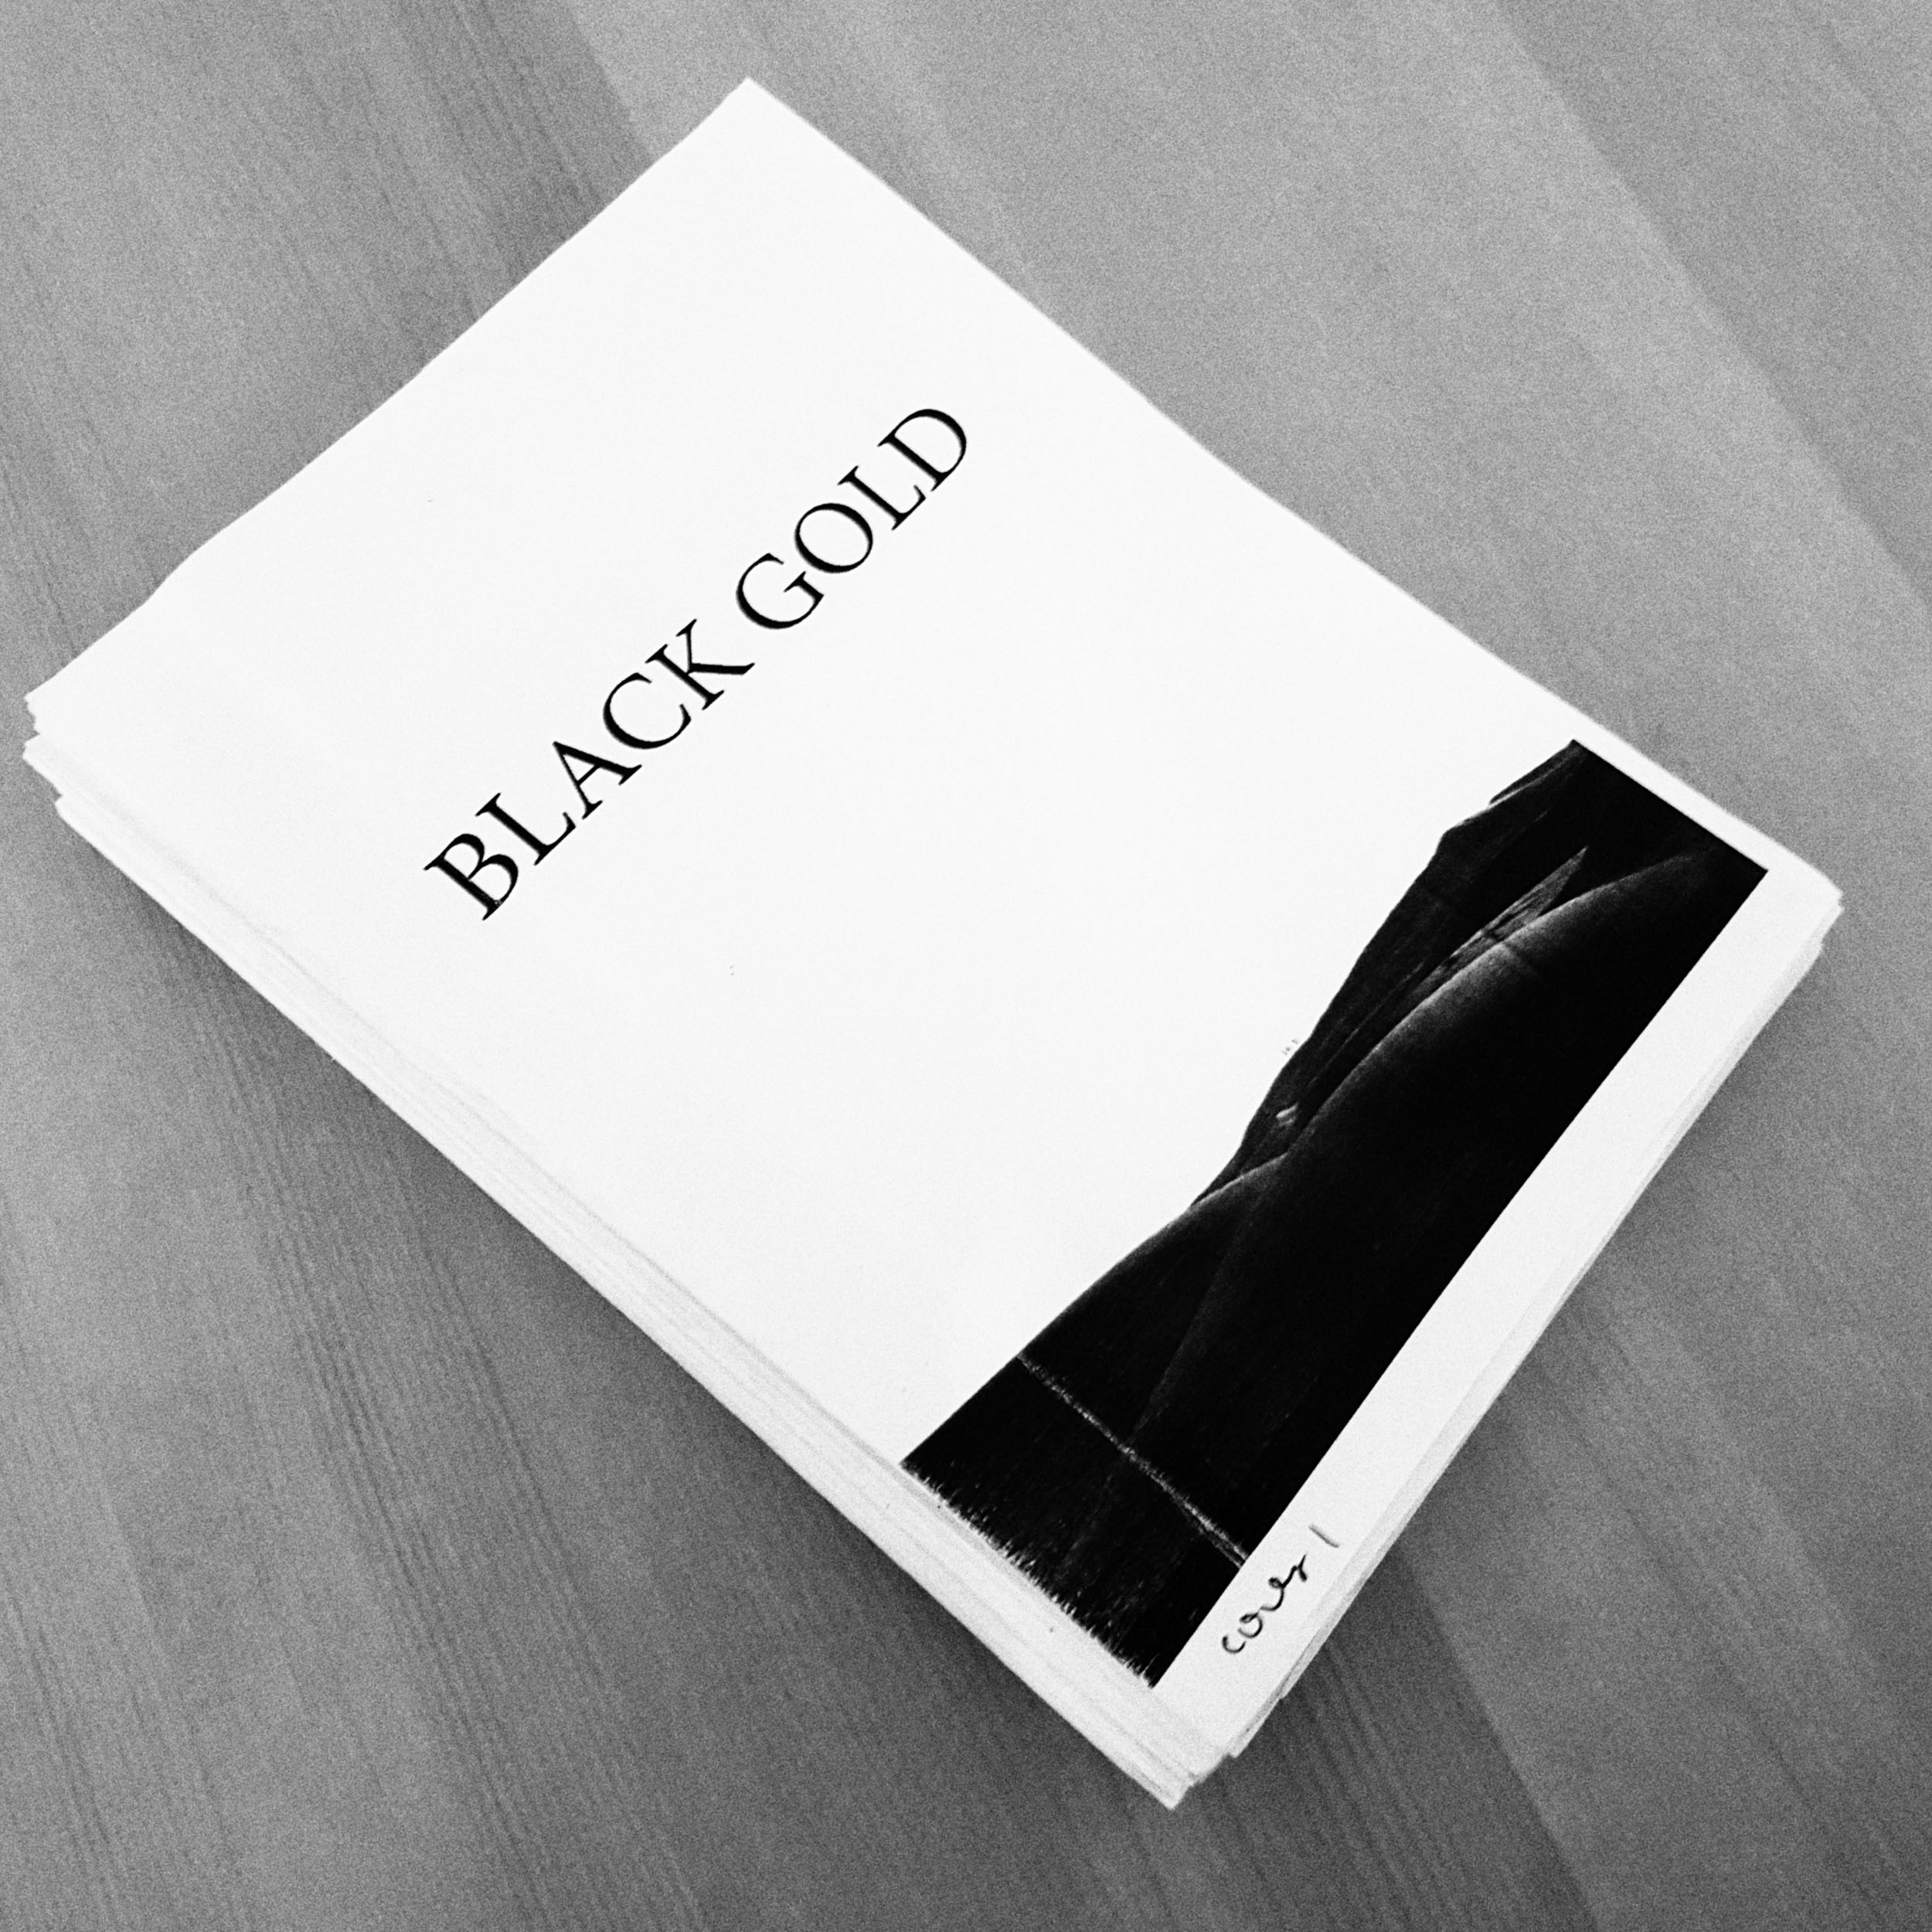
Copies of "Black Gold" are available through the wasteoffilm shop.